SylvaGrow Peat Free Grow Bag
£5.83 + VAT
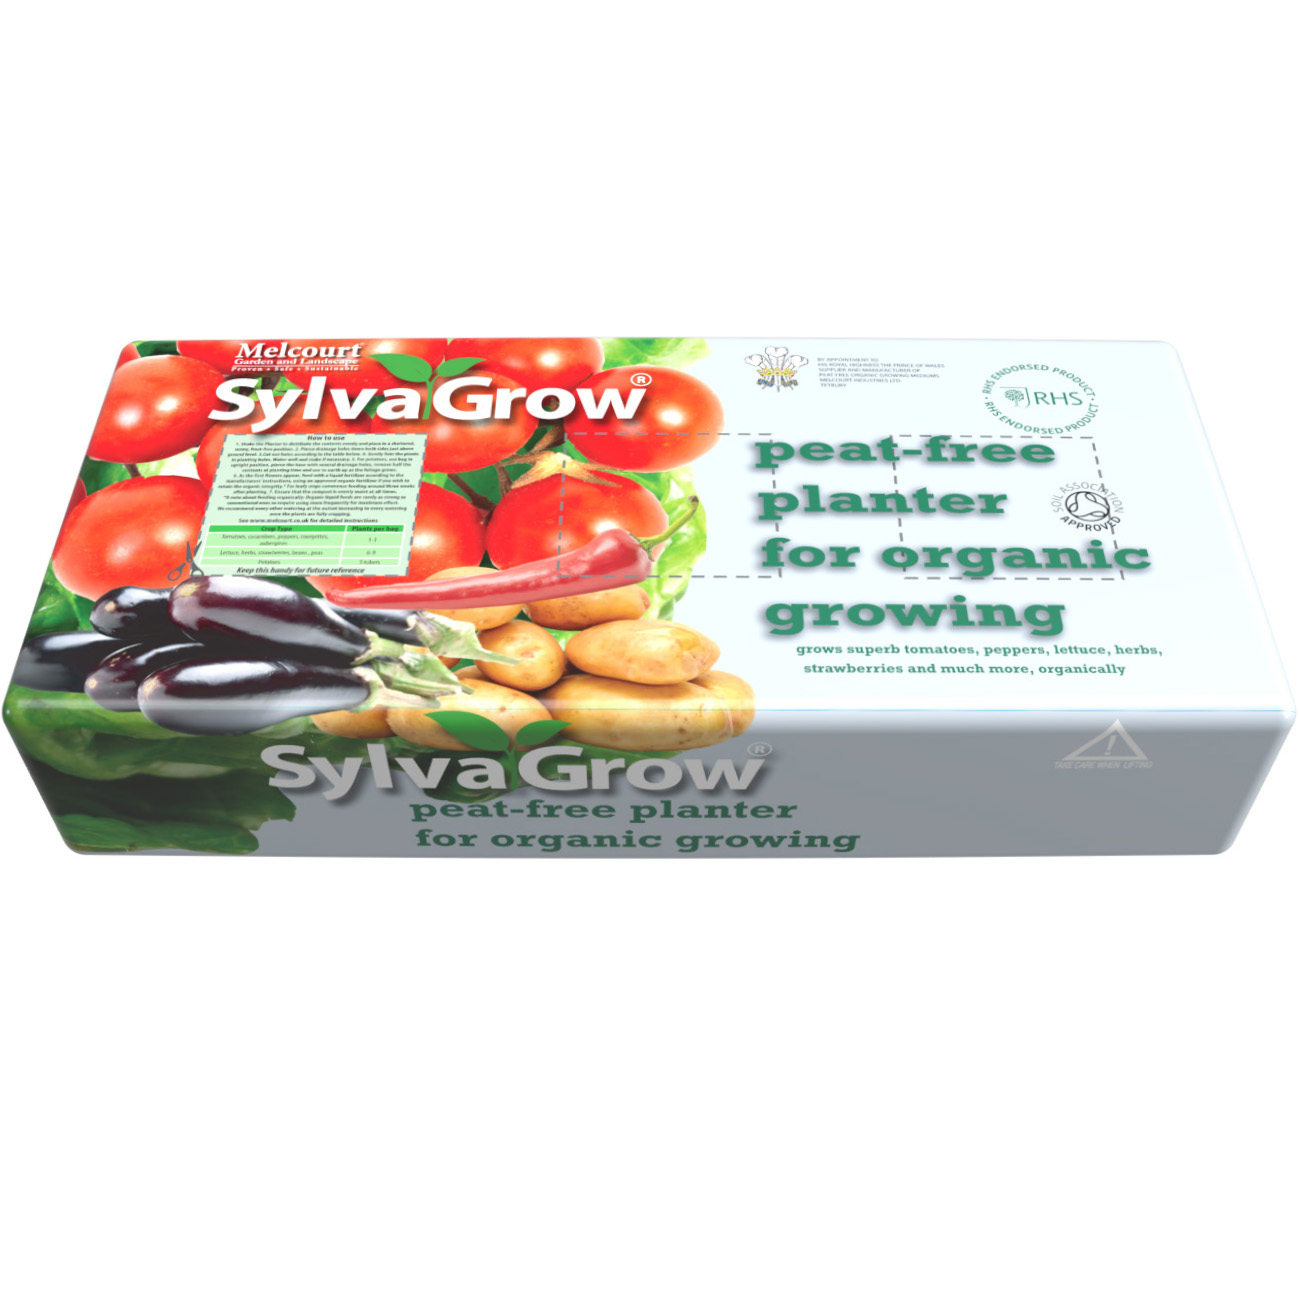
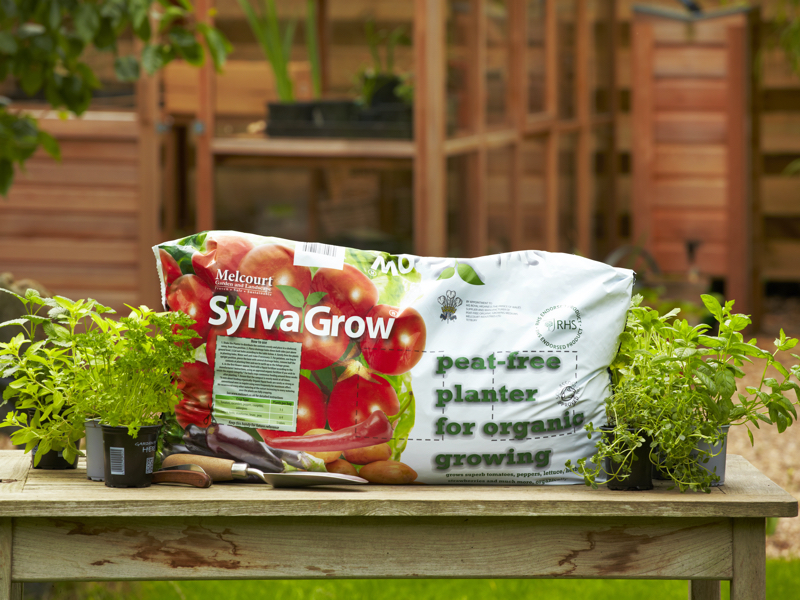
Melcourt SylvaGrow Peat-Free Planter for organic growing
The SylvaGrow Peat-Free Planter for Organic Growing contains a unique blend of fine bark (a by-product of sustainably managed British forests), coir (from a single, known source), green compost (a carefully-sourced, certified ingredient) and balanced organic nutrients sufficient for the first 3 – 4 weeks of growth.
It is based on a formula used by professional organic growers throughout the UK and is RHS endorsed and Soil Association approved.
A NOTE ABOUT ORGANICS
If you wish to maintain the organic integrity of this product then you should only use fertilizers labelled as organic and preferably those approved by the Soil Association.
However, non-organic fertilizers will also function very well. In both cases read the manufacturers’ advice carefully.
Please call 01872 870904 to place your order
How to use Shake the Planter in order to loosen and evenly distribute the contents. Cut out the relevant number of holes in the top of the Planter using the guide below. (There are guidelines for three holes on the Planter but any number of holes or even one large hole can be cut out, according to need.) Plants per bag: Tomatoes, cucumbers, peppers, courgettes, aubergines 1-3 Lettuce, herbs and strawberries 6-9 Beans , peas 5 – 15 Potatoes 5 tubers Salad leaves, rocket, mizuna, microgreens, spinach, pea shoots numerous Place the Planter in a sheltered, sunny, frost-free position, either outside or in a greenhouse. IMPORTANT – Pierce drainage holes down both sides of the Planter just above ground level. Tomatoes, cucumbers, peppers, aubergines, courgettes, chilli peppers and strawberries Using well-established young plants,
- First, ensure that the plants to be potted have been well-watered.
- Make holes large enough to accommodate the items to be potted, insert the plants and firm gently around the stem.
- Water thoroughly. Take care always to avoid wetting the crowns and fruit of strawberries as this can promote disease.
- Ensure that the Planter is kept evenly moist but not over-wet, at all times.
- As the first flowers appear, commence liquid feeding. If using a conventional fertilizer (non-organic) apply according to the manufacturer’s instructions (usually around every 10 -1 4 days).
- If you wish to maintain the organic status of the crop, choose an organic liquid feed (preferably a Soil Association approved product). Commence feeding at three weeks after potting or when the first flowers appear if this comes first. Apply feed at every other watering, increasing to every watering once the plant is cropping. Lettuce and herbs
- Firstly, ensure that the plants to be potted have been well-watered.
- Make holes large enough to accommodate the items to be potted, insert the plants and firm gently around the stem.
- Water thoroughly.
- Ensure that the Planter is kept evenly moist but not over-wet, at all times. Beans and peas are best direct sown into the Planter and thinned at rates according to the seed packet instructions. Liquid feed according to the instructions above once the plants are well-established – this will typically be around 5 -6 weeks after sowing. Potatoes In the upright position the Planter works very well as a potato bag.
- Firstly chit the seed potatoes (place in a light, frost-free place with the sprouting end up). When the shoots are around 3cm long the tubers are ready for planting.
- Remove all but around a 15cm depth of compost in the Planter and set aside in a clean, dry place.
- IMPORTANT – Pierce drainage holes in the base of the Planter, just above ground level.
- Plant the tubers just below the surface. As the shoots grow, gradually replace the compost, always leaving the top of the shoot well above compost level, until the Planter is full. Commence feeding once all the compost has been replaced.
- If using a conventional fertilizer (non-organic) apply according to the manufacturer’s instructions (usually around every 10 -1 4 days).
- If you wish to maintain the organic status of the crop, choose an organic liquid feed (preferably a Soil Association approved product). Apply feed at every other watering increasing to every watering after around 4 weeks. Salad leaves, rocket, mizuna, microgreens, spinach, peas for shoots can be direct sown into the Planter. Cut one or two large holes in the Planter and then sow seeds at depths and densities according to the instructions on the seed packet. Supplementary liquid feeding is unlikely to be necessary but may be desirable if the crop has been in the Planter for more than 6 weeks. Contact Melcourt if you require any further details of crops not mentioned here or for any other information.
Raised Beds The contents of the SylvaGrow Planter can be used as part of a raised bed medium for • vegetable and strawberry growing either before or after it has been used. Simply mix 1 part SylvaGrow Planter thoroughly with 3 to 4 parts loam or garden soil to gain a valuable addition of organic matter and nutrients. Remember to supplementary feed as vegetables are heavy feeders and will respond well. Lime-hating, ericaceous plants The SylvaGrow Planter is not suitable for raising lime-hating, ericaceous plants such as blueberries. For these use SylvaGrow Ericaceous. At the end of the season the contents of the Planter can be used as a general soil improver. Other Advise
- Use in a ventilated place and avoid breathing in dust
- Always wear gloves when gardening and wash hands after use
- White mould: under certain conditions a white mould may appear on the surface of some of the particles in the SylvaGrow Planter. This is entirely normal and not harmful to humans, plants or pets.
- Store in cool, dry conditions.
Plastics & Recycling The SylvaGrow packaging has been manufactured using at least 30% post consumer waste plastic. We are working with our suppliers to increase this level as quickly as we can. The bag is 100% recyclable but check regionally for local recycling options. 


